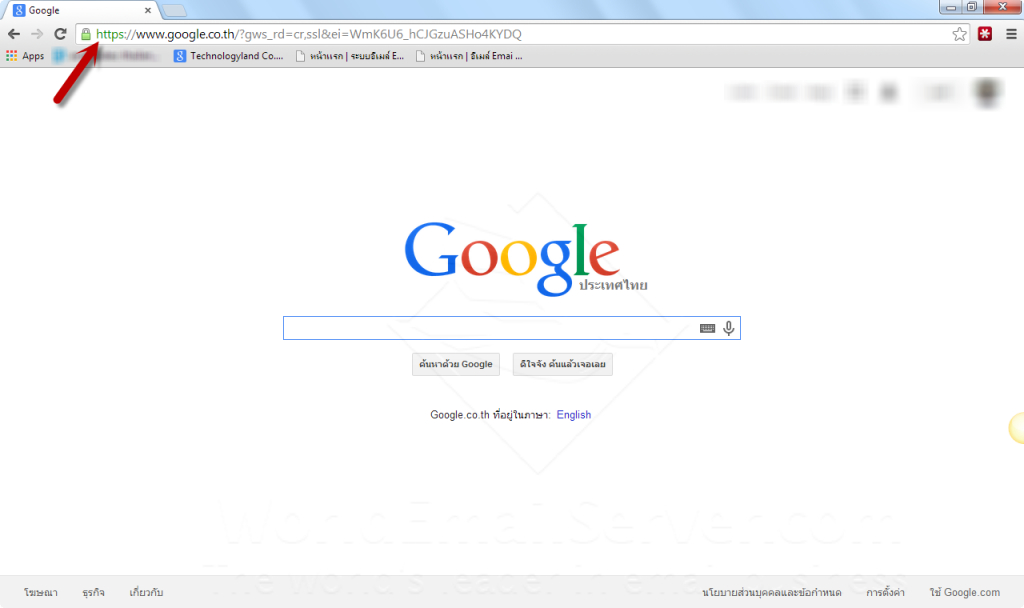
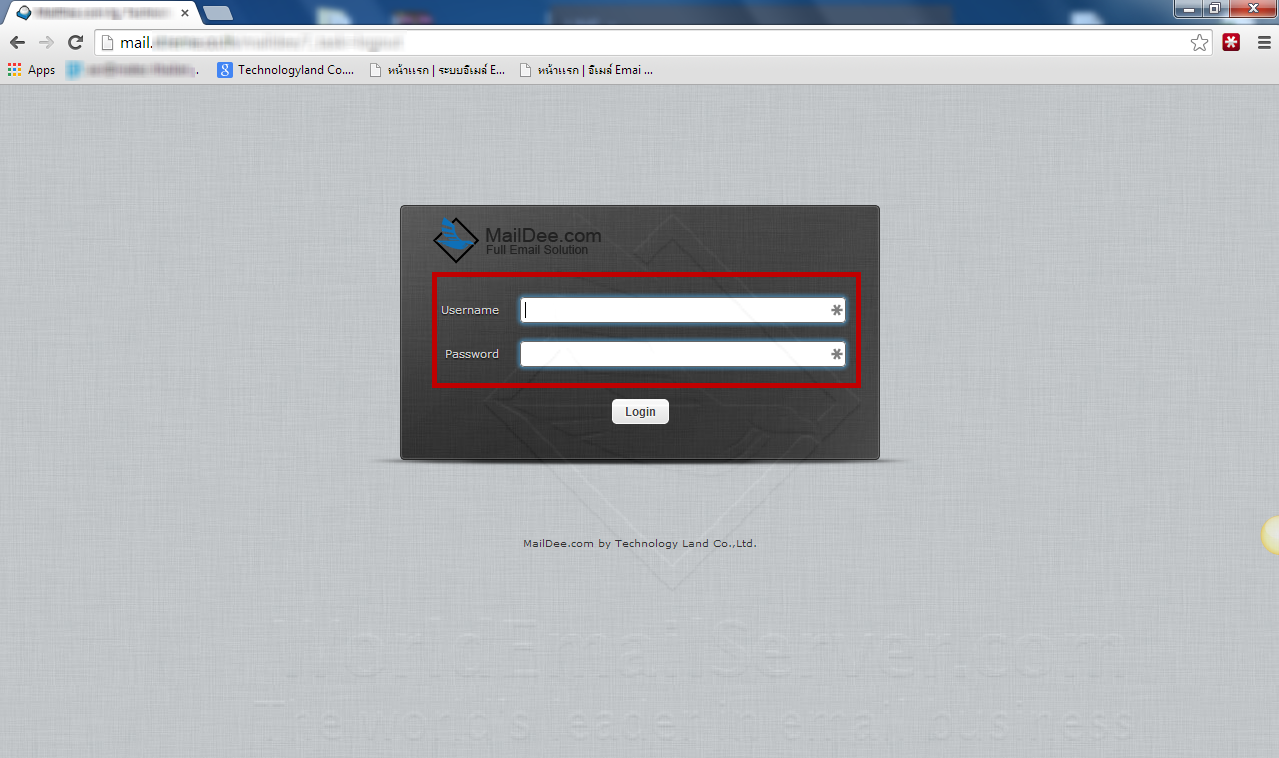
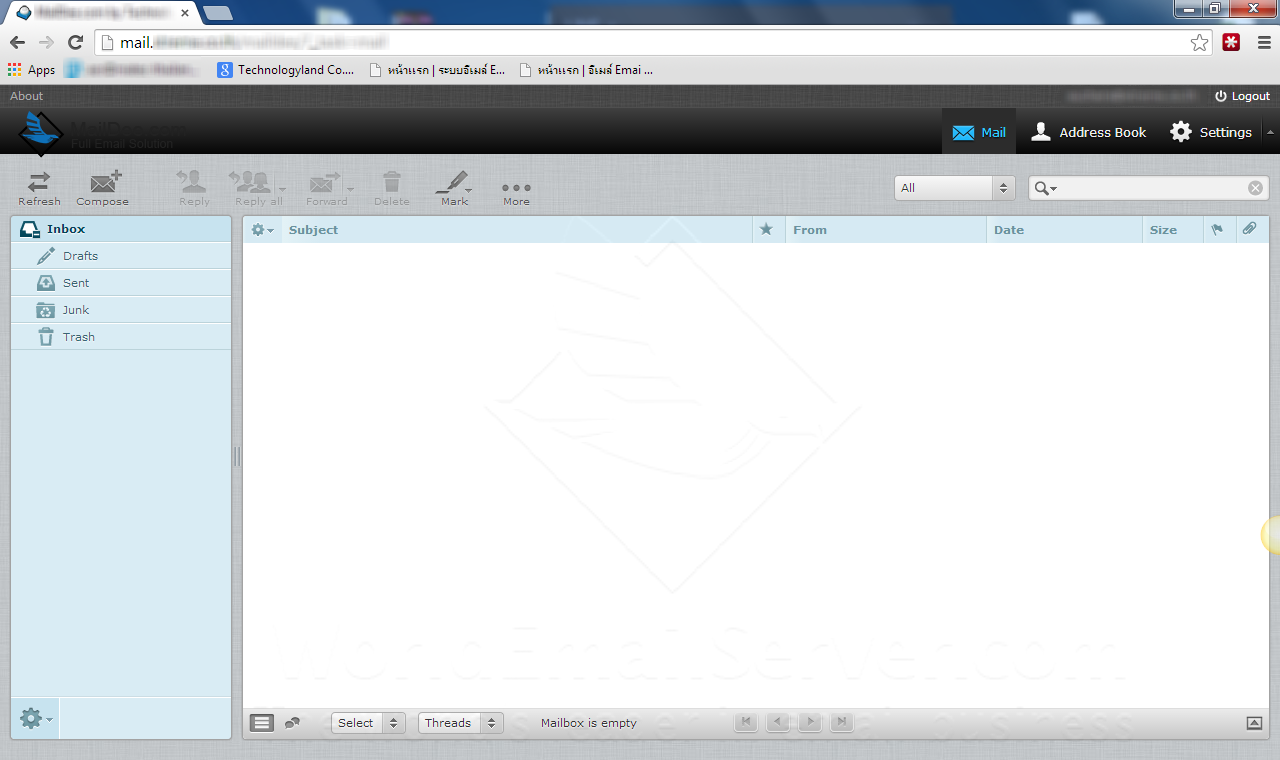
How to access email from webmail


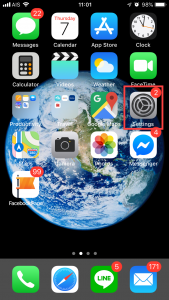 Go to Settings
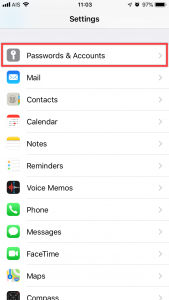 Go to Password & Accounts
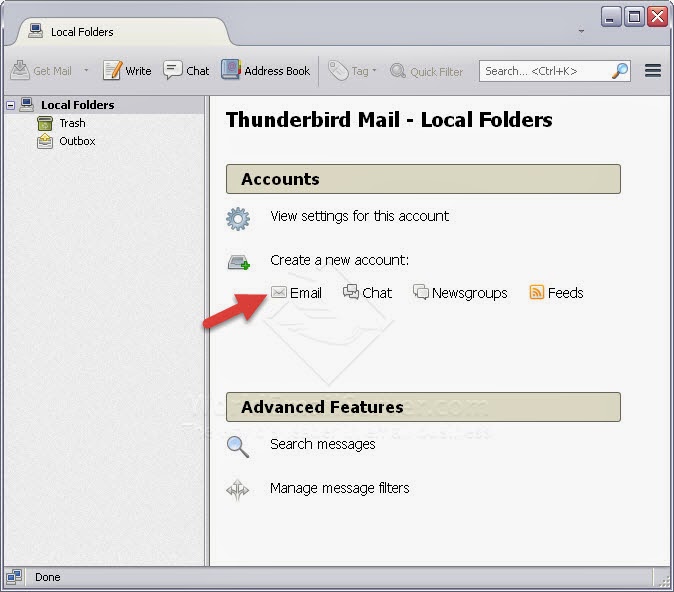
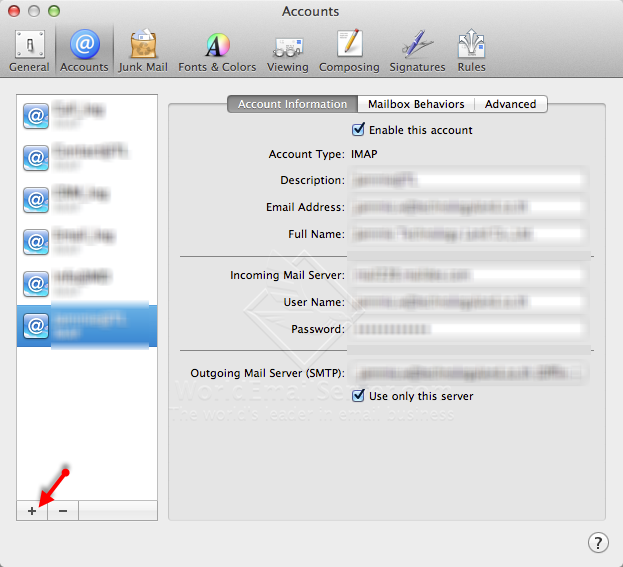
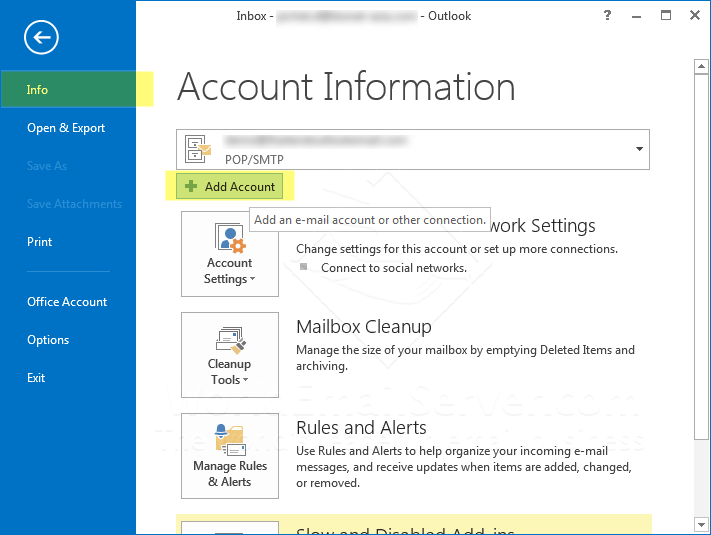
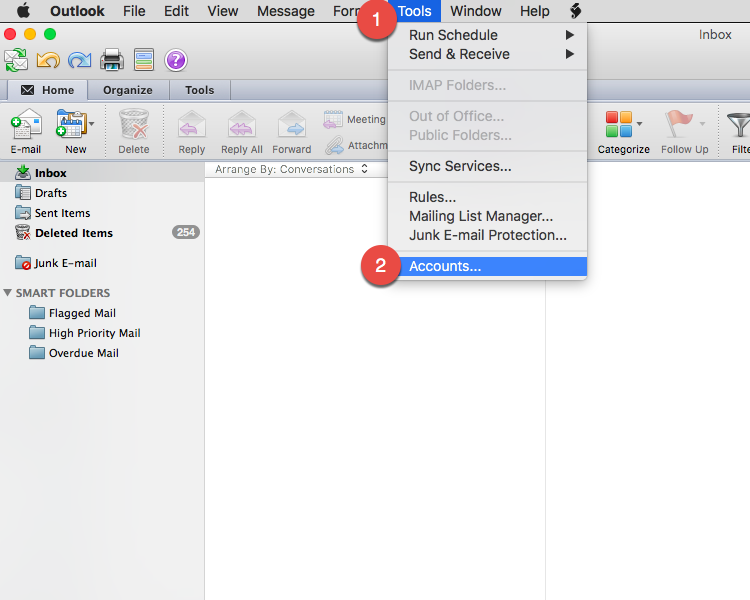
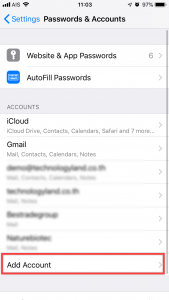 Go to Add Account
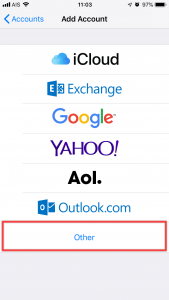 Go to Other
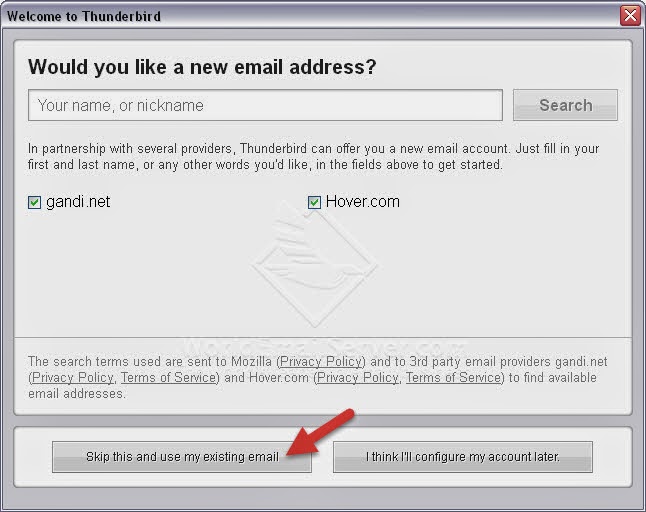
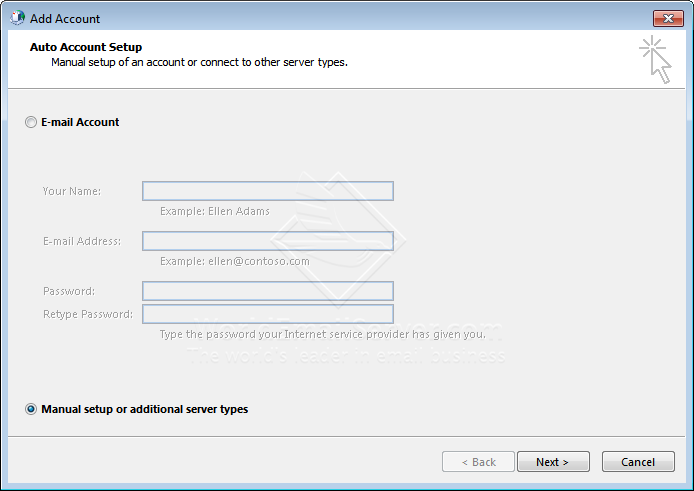
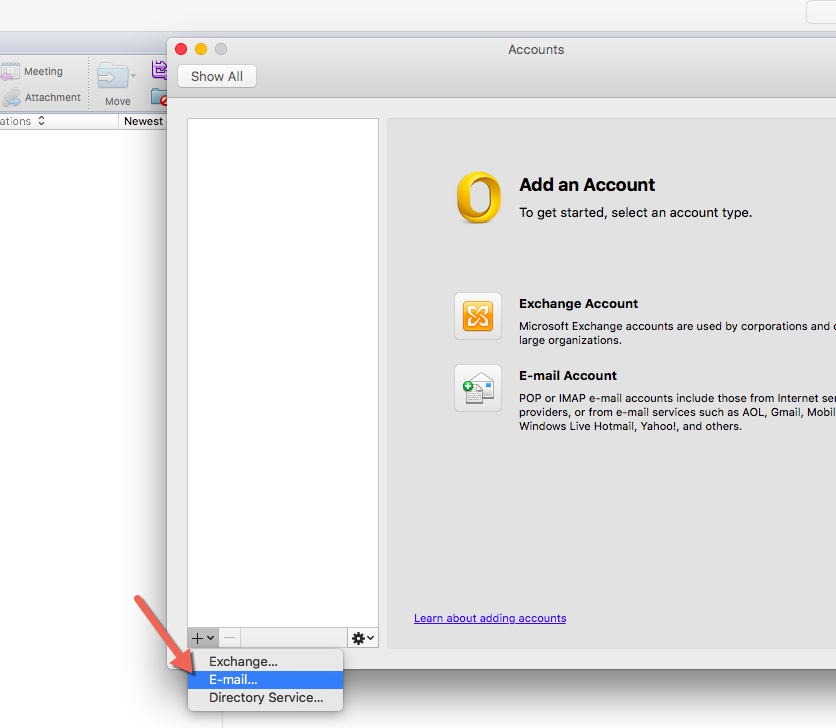
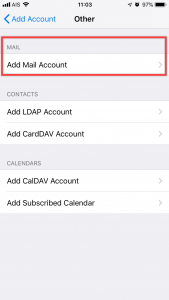 Go to Add Mail Account
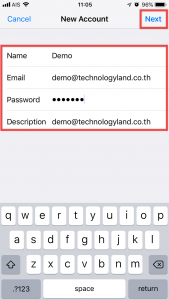
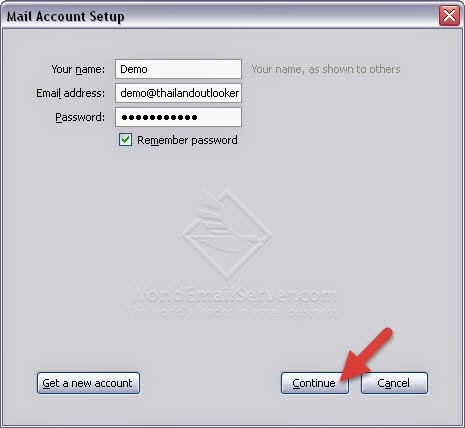
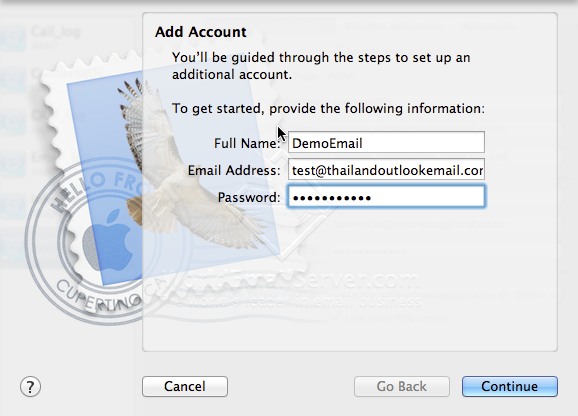
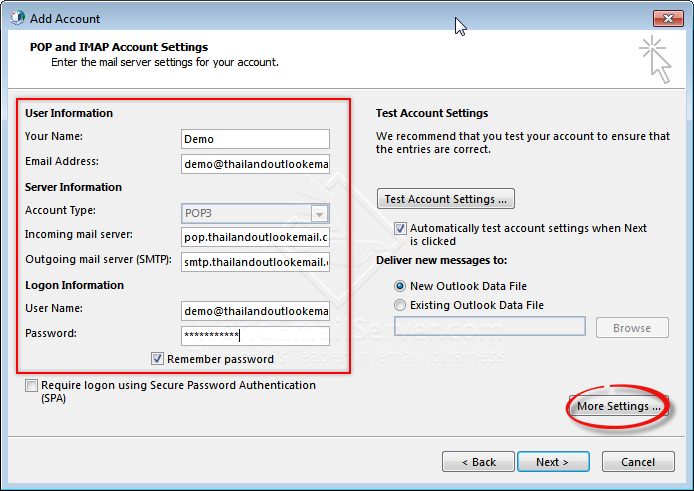
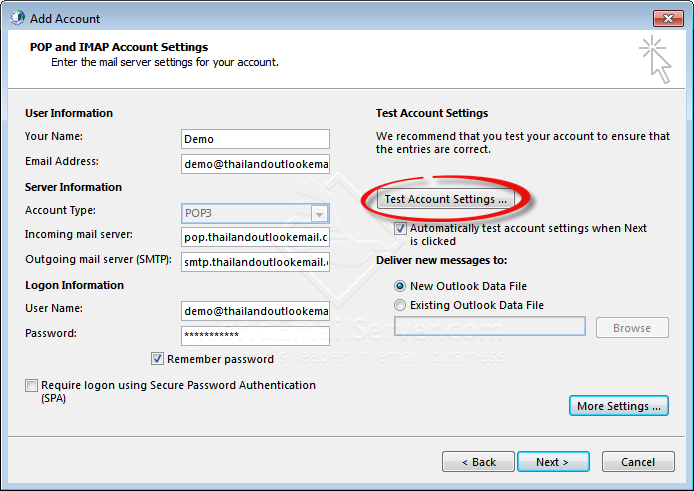
Name : Your Name (English Only)
Email : youremail@yourdomain.com
Password : ******* (Your Password)
Description : Description
After that, Click Next
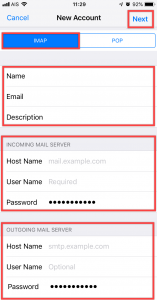
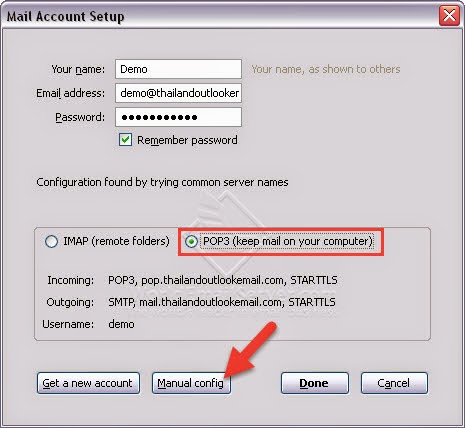
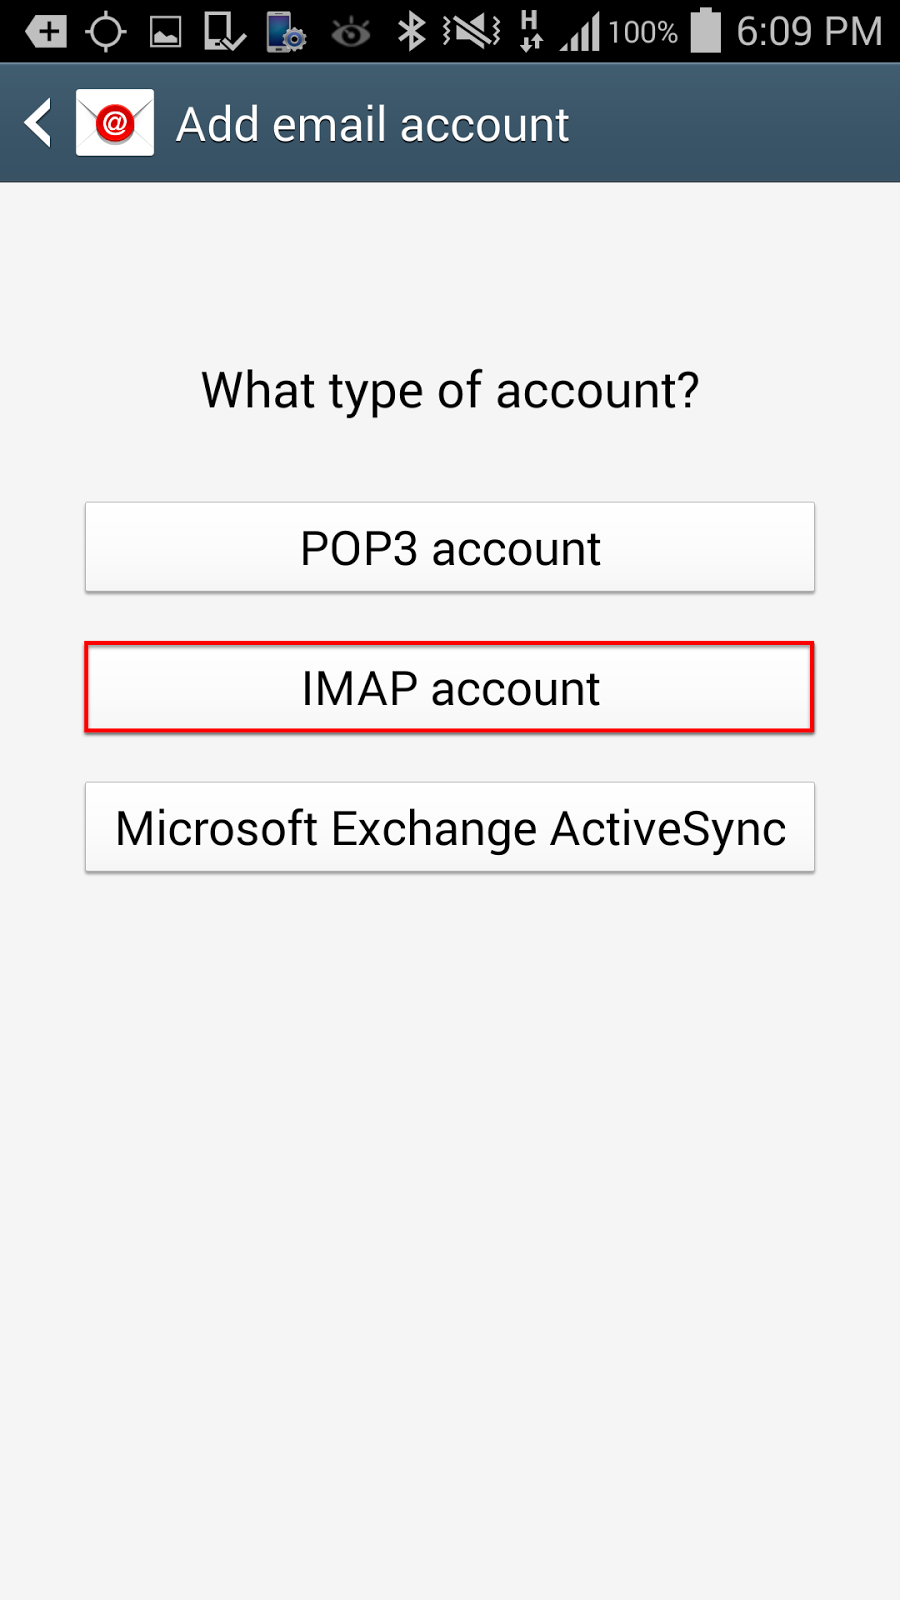
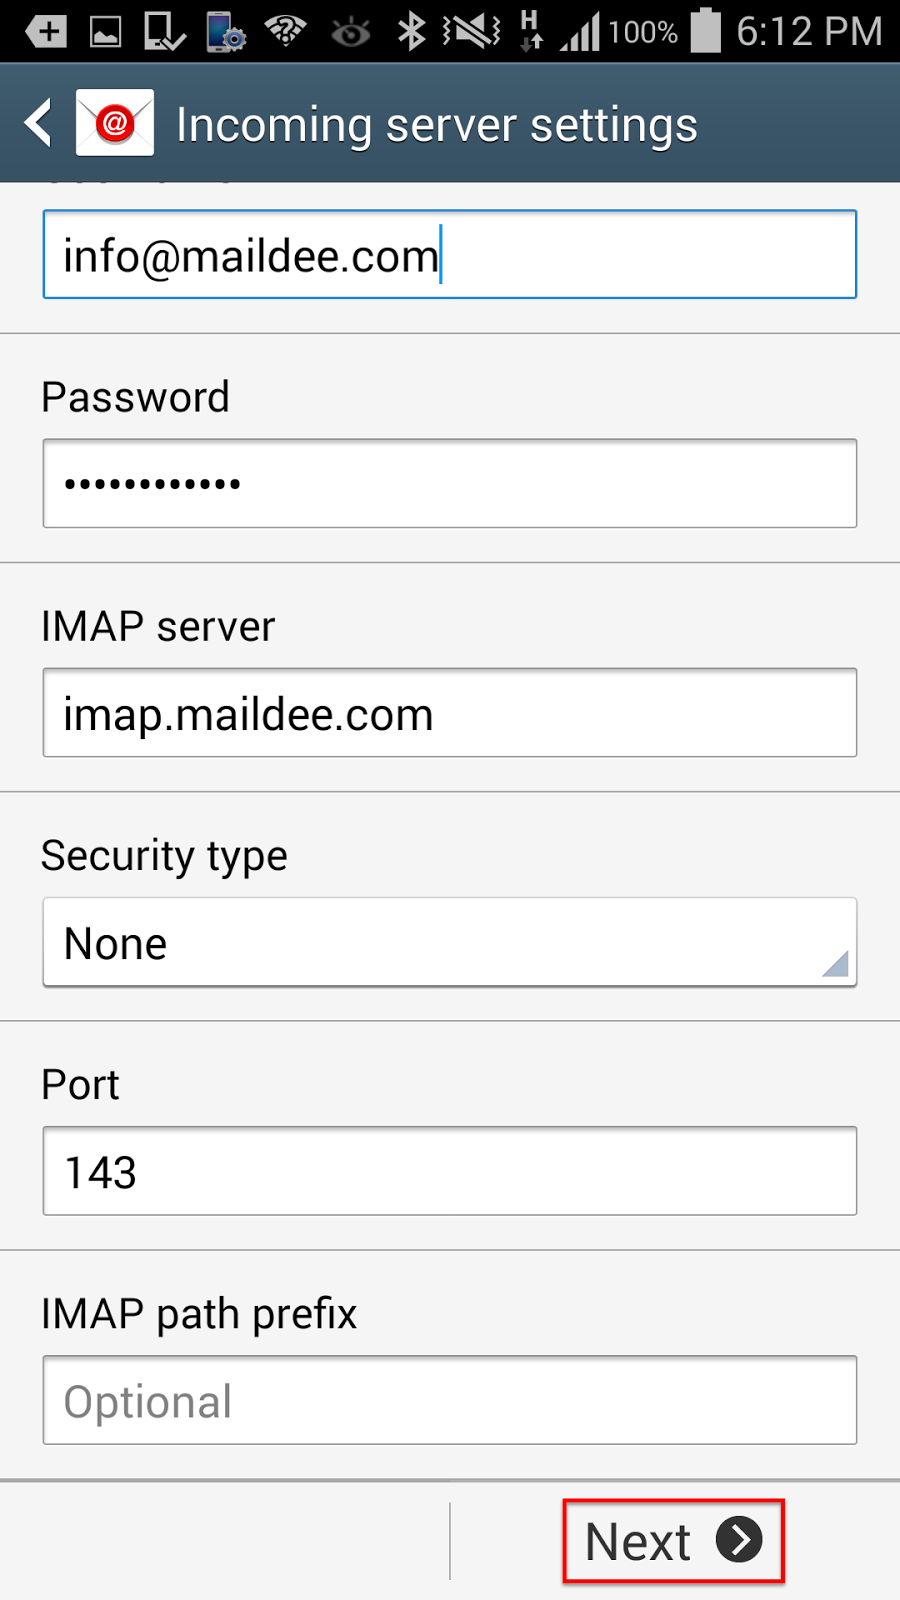
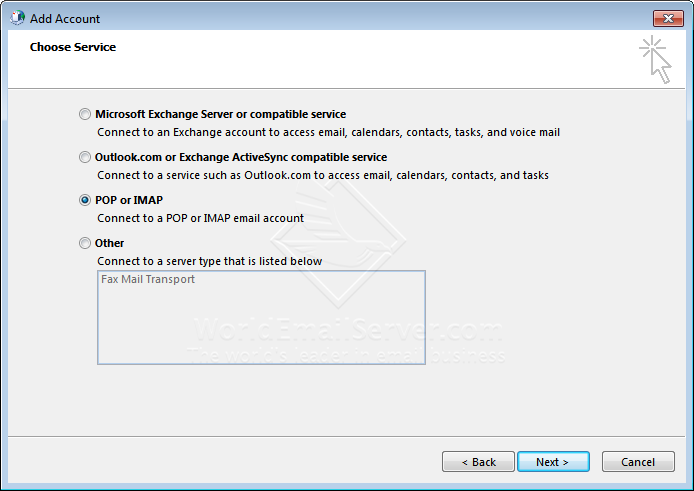
Selected IMAP
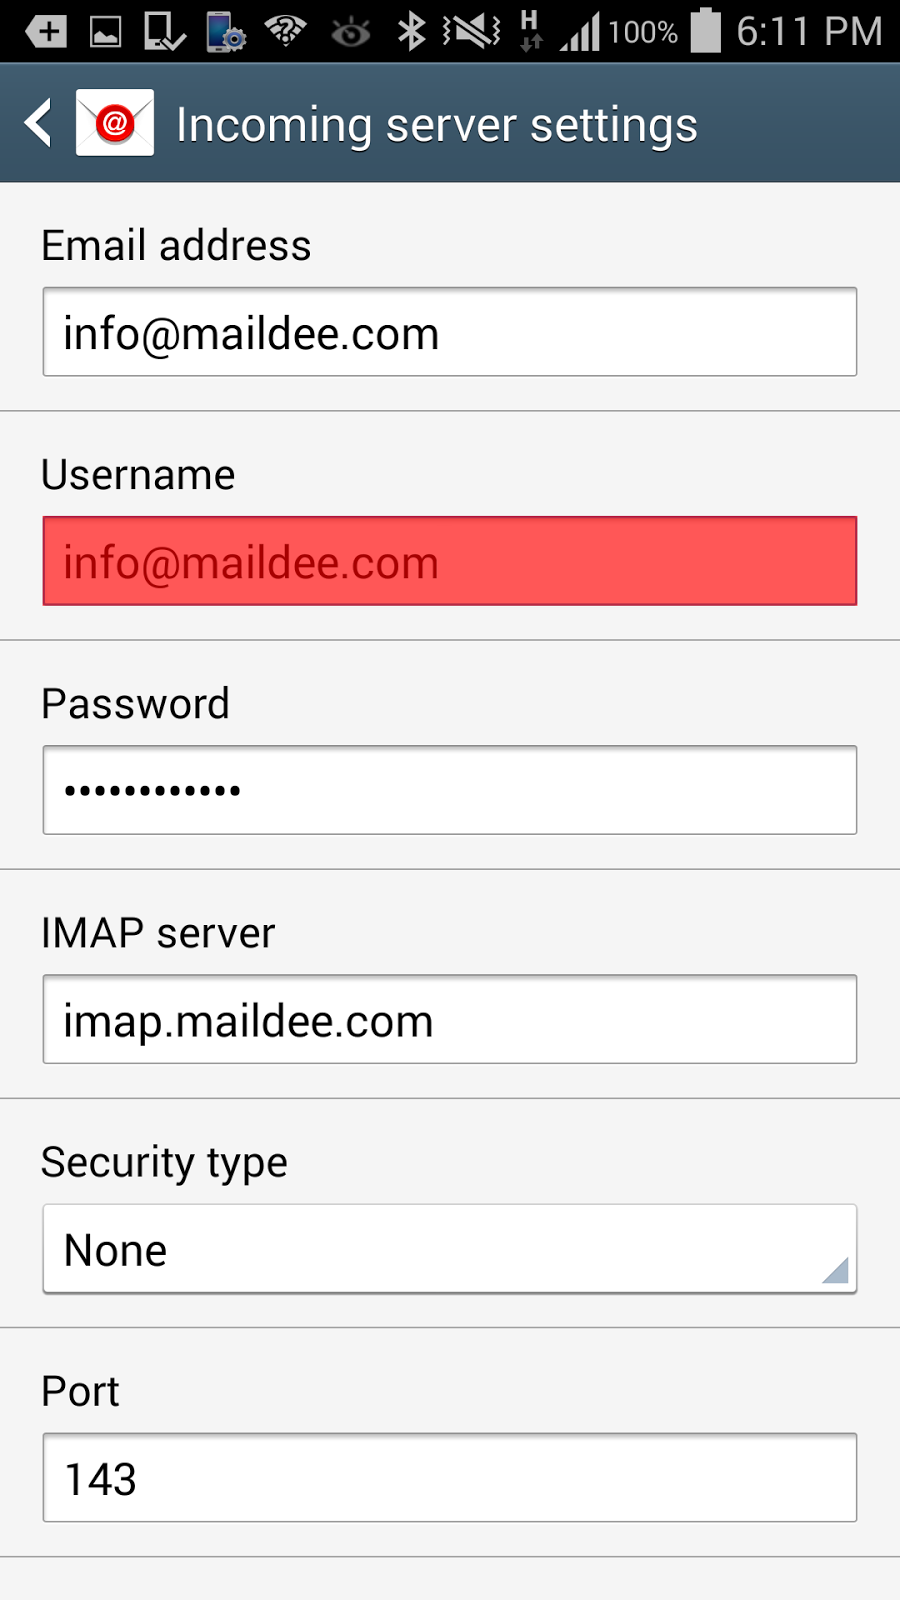
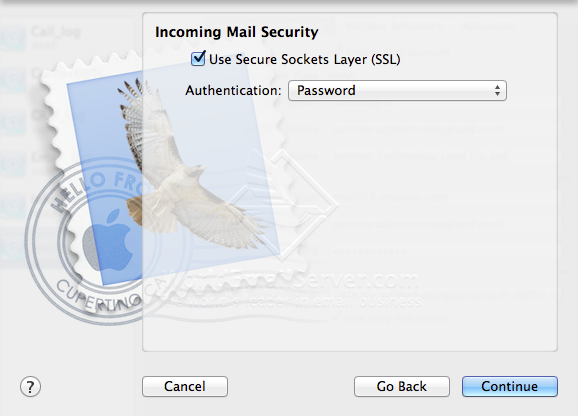
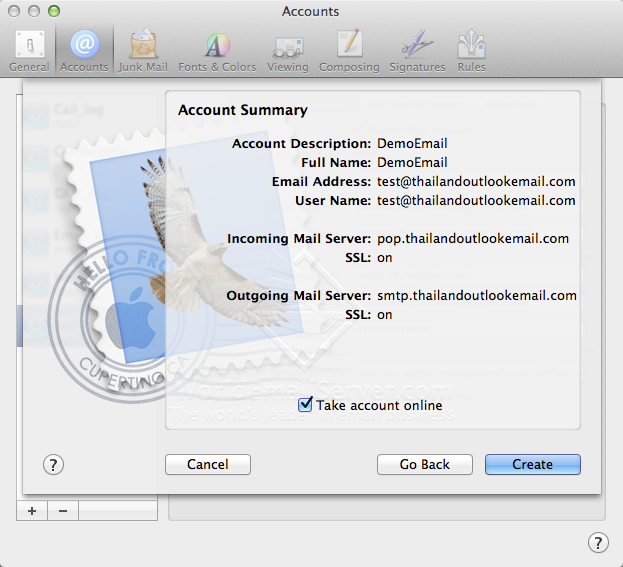
Incoming Mail Server
Host Name: imap.yourdomain.com
Username: youremail@yourdomain.com , Password: ****** (Your Password)
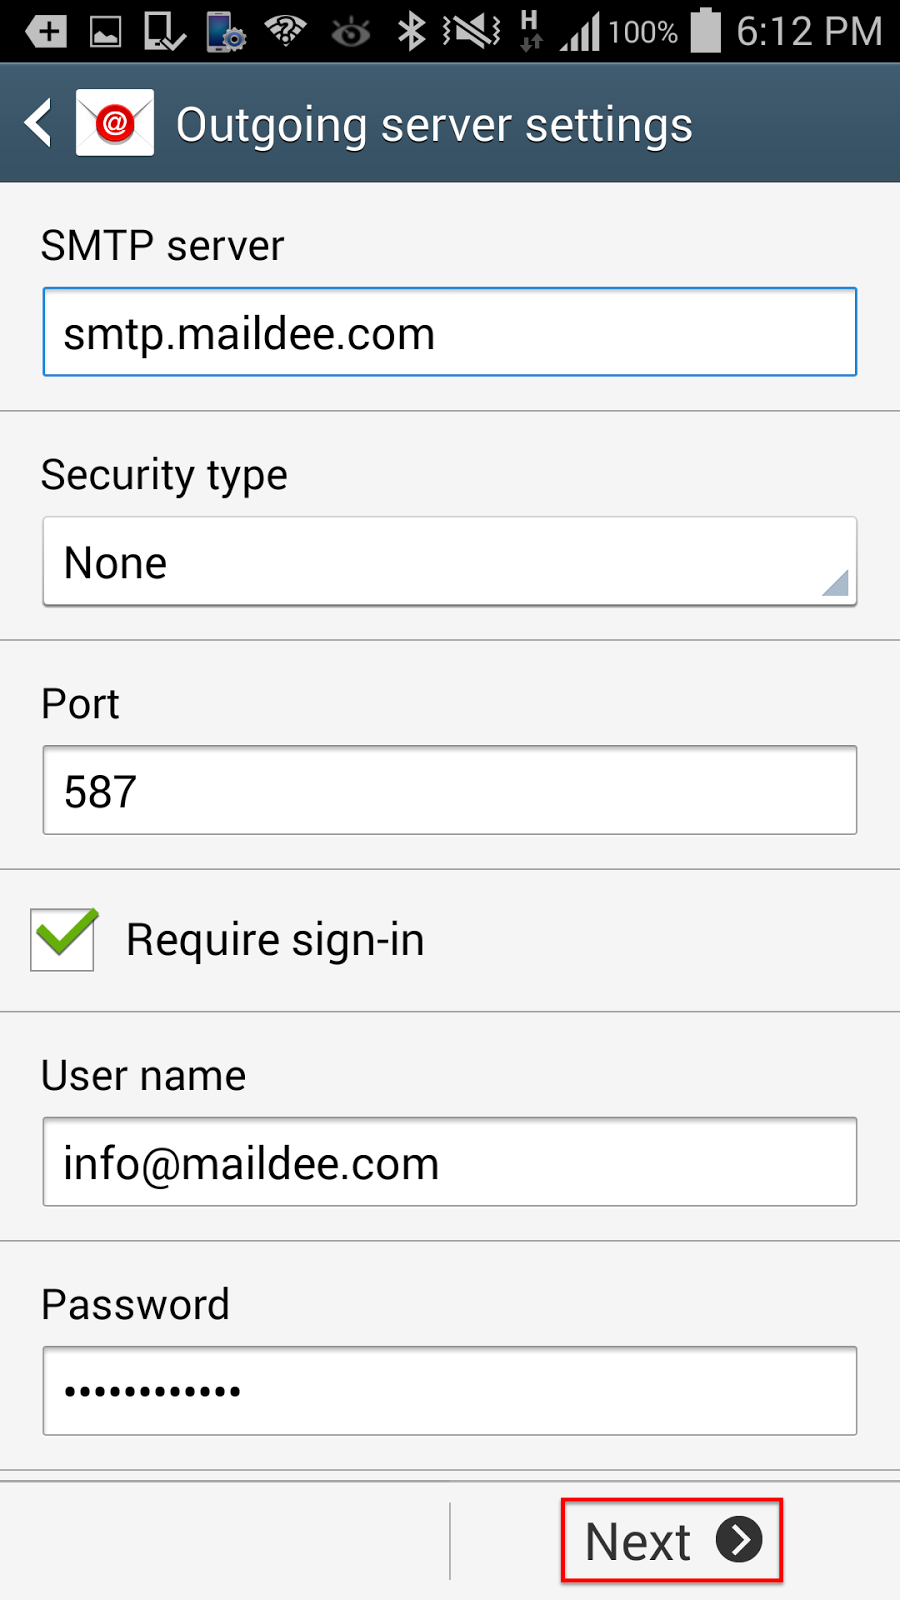
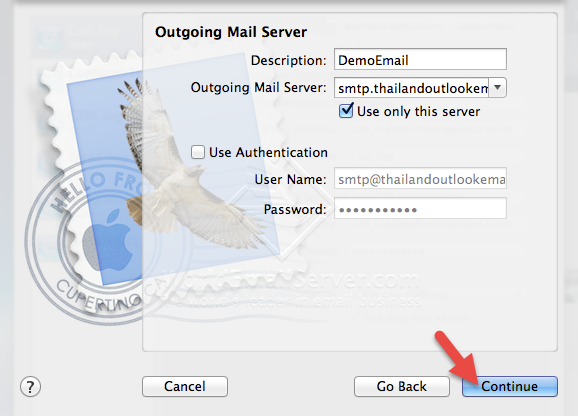
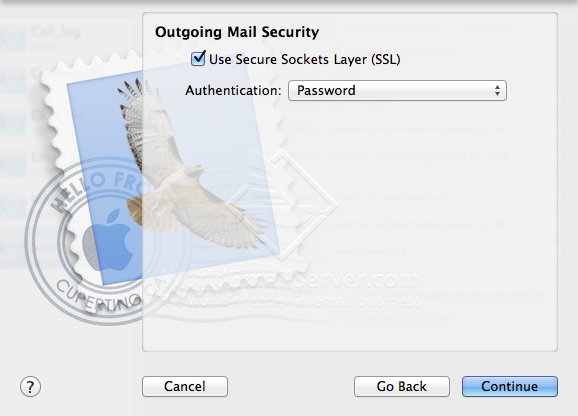
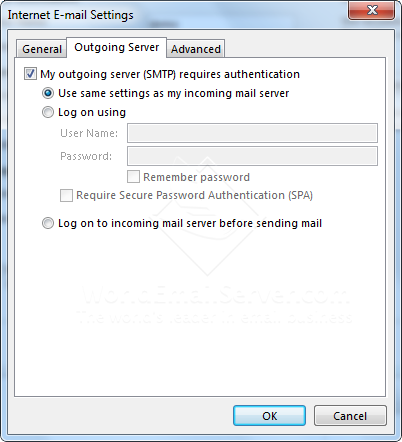
Outgoing Mail Server
Host Name: smtp.yourdomain.com
Username: youremail@yourdomain.com , Password: ****** (Your Password)
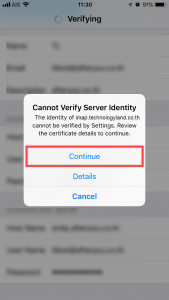
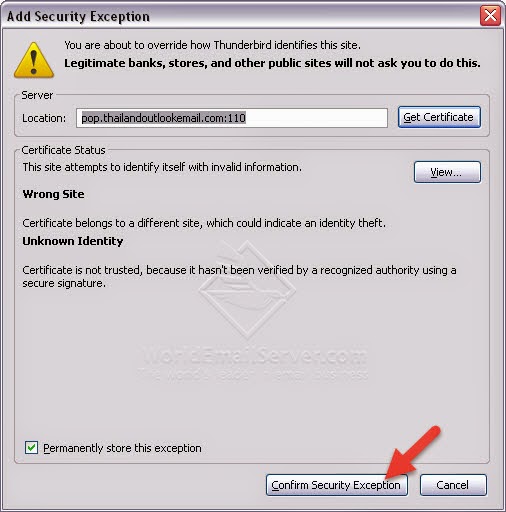
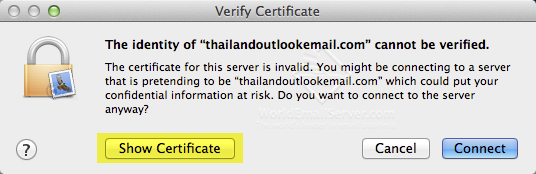
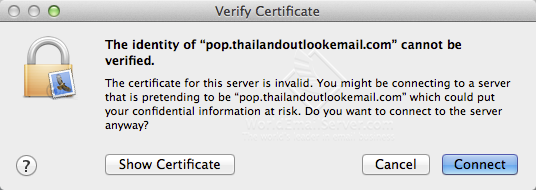
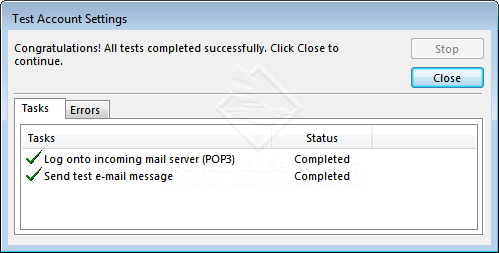
POPUP: Cannot Verify Server Identity
Click Continue

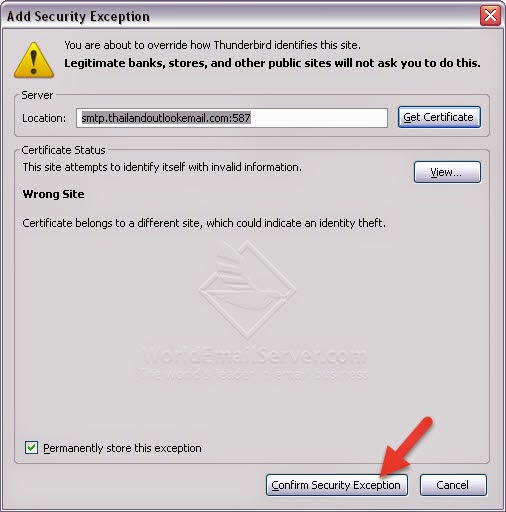
POPUP: Cannot Verify Server Identity again
Click Continue
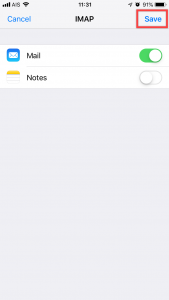
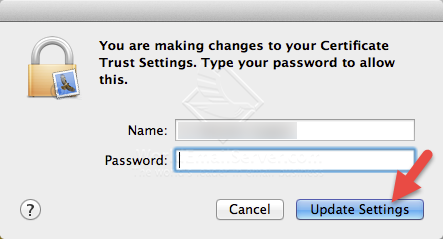
After that, Click Save
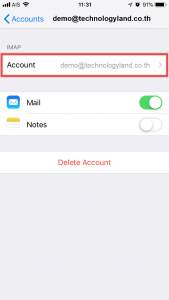
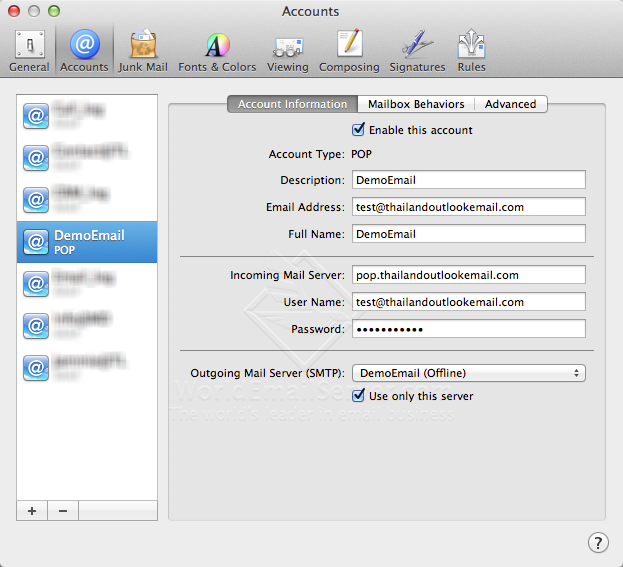
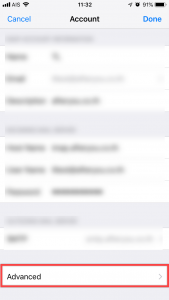
Go to your Email Account
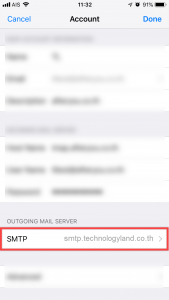
Click SMTP
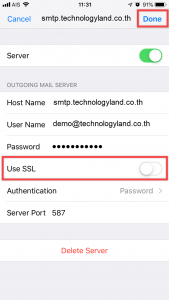
Turn off SSL, After that Click Done
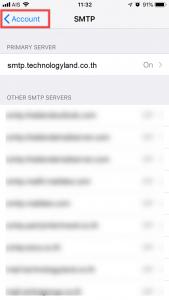
After that, Click < Account
Go to Advanced
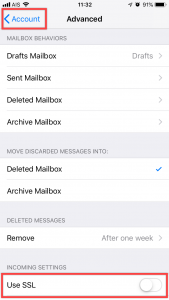
Turn off SSL, After that click < Account
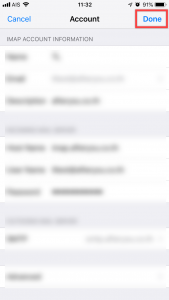
Click Done
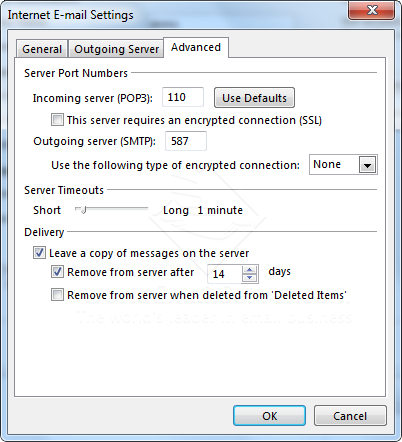

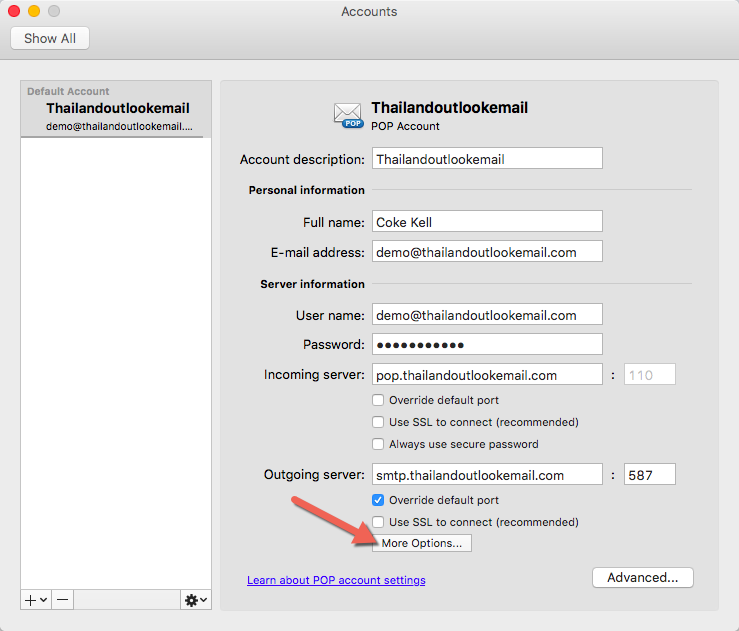
 On outgoing check on Override default port and type port 587